Is your mac camera not working? Well that’s a technical issue, let’s see how to fix your Mac camera not working issue easily in this page without any hassle
The MacBook is a technological marvel of the 21st century, offering users a growing range of accessible services at their fingertips. However, if your webcam does not work on your Mac and is displayed as offline or unavailable when you try to access it, you may not be happy.
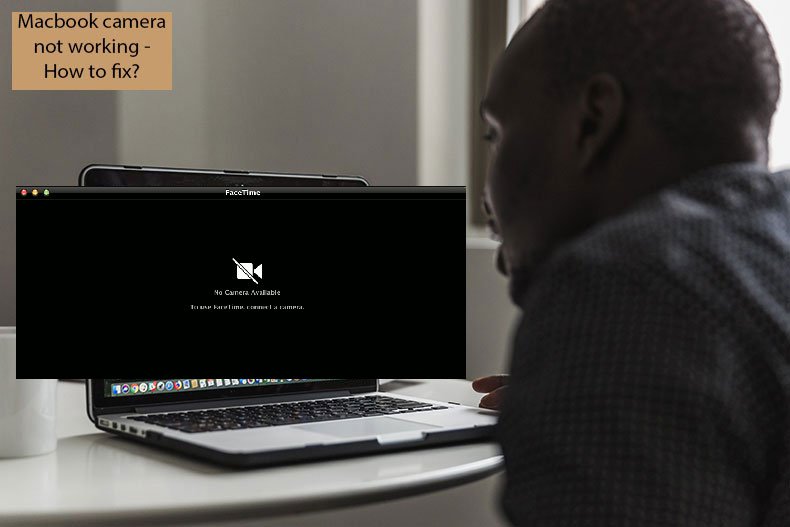
Some Mac users learn that their “MacBook camera not working” when the message from the connected camera is not displayed. One of the most common ways to solve this problem is to restart the computer. However, you should first try to fix the Mac camera not working error by restarting the Mac but restarting the computer can only solve some minor problems related to your Mac.
How to fix the Mac camera not working?
Over the years, it has been determined that camera issues like Mac camera not working error is complex to fix, so we recommend that users exercise some ease while solving this issue on their Mac. Here are some basic steps you can use to correct them:
-
Check for apps using your camera
The first step to resolving this issue is to confirm whether it is an application or a software problem. To make sure that it’s an app issue or a camera issue, make sure you test multiple apps on your Mac using the camera for example test iMovie, FaceTime, Photo Booth, etc.
If there is no problem with the Mac FaceTime issue in some apps, it’s safe to say that the error is caused by the affected apps. Alternatively, if the problem exists in all applications, it is safe to say that the camera hardware or software or firmware supporting it may be the source of the problem.
-
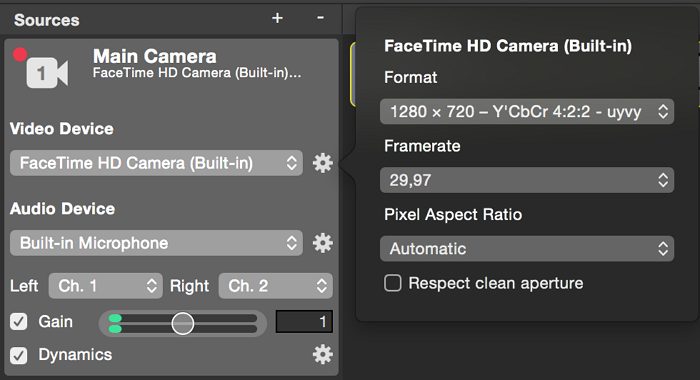
Change your Mac camera settings
Depending on the nature of the MacBook, even recent Macs do not support the camera setup app. This may be because most apps that use the webcam have setup options to help users modify the feature to their liking. In the app interface, be sure to select the built-in camera as a way to take your photos and make sure to adjust its features appropriately before calling on Skype, FaceTime or any other app to avoid a Mac FaceTime camera not working or same errors.
-
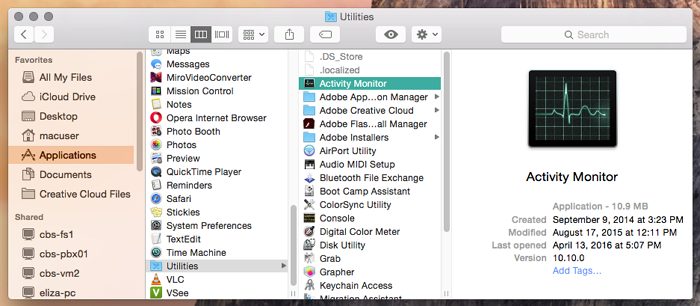
Quit all camera-based applications
If the above solution does not work, the implementation of this moderate solution should lead to positive results. Quit all camera-based applications, then access the Applications folder> Utility and activate ActivityMonitor.app.
To do so:
- Click Launchpad.
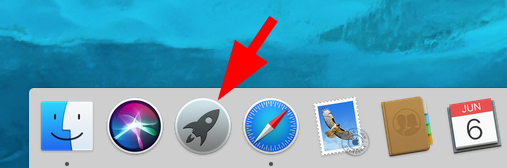
- Click Other.
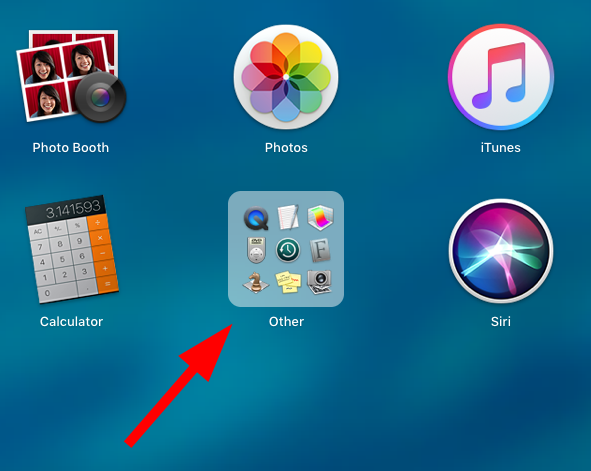
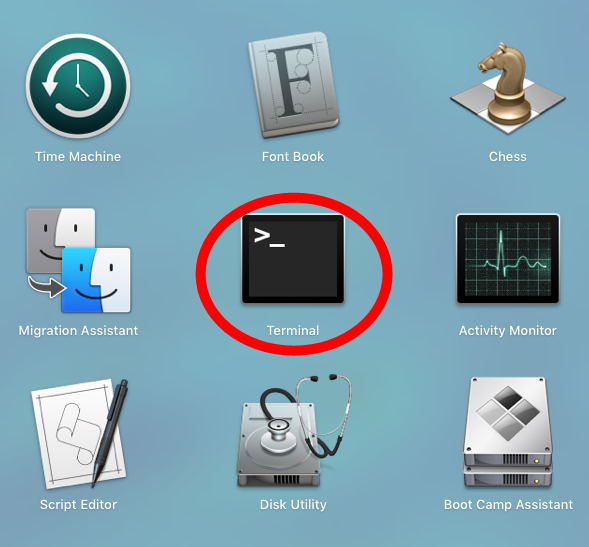
- Click Terminal.
- Type “sudo killall vdcassistant”, then press Enter on your keyboard.
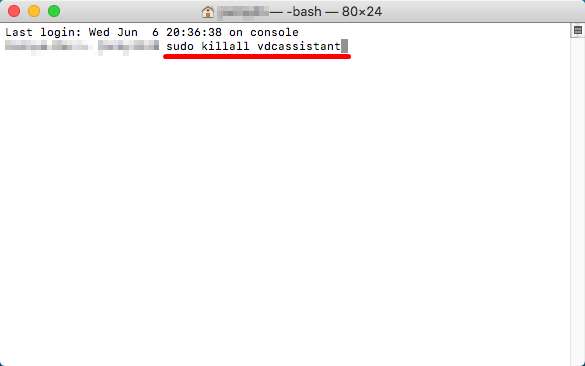
- Type your password (the password you use to sign in to your MacBook Pro) and press Enter.

- Wait until the system closes all operations. Then check to see if you can use the camera.
I hope it does. But if not, there are three other fixes you can try.
-
Restart your MacBook
Due to some disrupted basic operations that may reduce the ability of apps to access the camera, the above problem is likely to persist. To finish all operations, it may be necessary to restart your MacBook especially after the boot option fails to produce positive results.
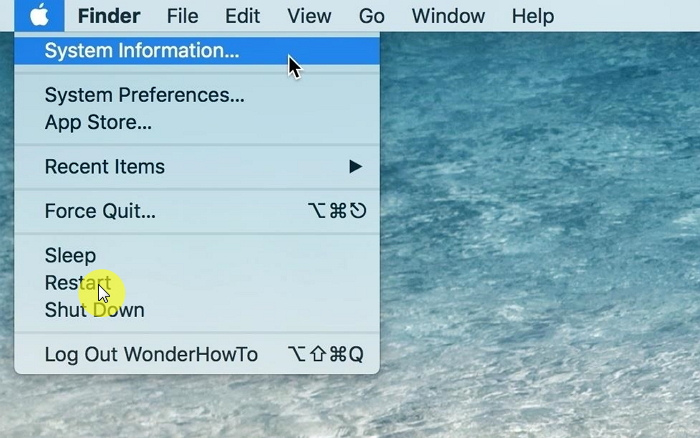
You can perform a reboot by going to the Apple menu in the upper-right corner of your Mac screen and clicking the Restart option. If any operations are using the camera in the background, restarting may resolve the issue, giving you full access to the camera again. Once your computer restarts, check to see if your webcam is working normally.
-
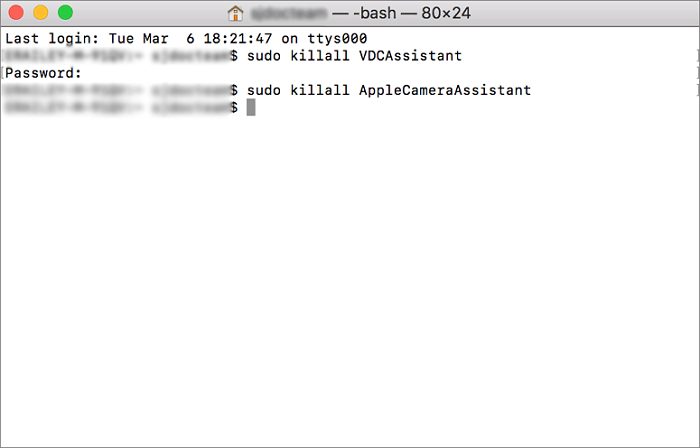
Force your AppleCammeraAssistant or VDCAssistant to quit
If the problem persists after all the above fixes, it is important to try this simple fix. Software names VDCAssistant are responsible for activating the camera when needed, and most often when the program suspends or encounters a malfunction, it transmits these errors across all camera-based applications, preventing their use of the camera.
- Quit all apps accessing the camera
- On the Spotlight Search tab, start Terminal by searching for it
- In Terminal, type {sudo killall VDCAssistant}, press Enter
- In Terminal, type {sudo killall AppleCameraAssistant}, press Enter
- Confirm the solution by running an application based on the camera
-
Update your apps and macOS
If there is no problem with the Mac FaceTime app in your camera, it may be a compatibility issue that can be fixed by updating the app in the App Store to the latest version. Furthermore, while there are such issues, if a security update is available, users are advised to update their operating systems to the latest version.
-
Enable FaceTime camera on the screen
FaceTime HD cameras can sometimes fail to play because your Mac is stuck in the internal camera. In this case, the camera cannot switch the display camera automatically. To resolve this issue, you can change it manually. To help Mac switch between cameras, open the FaceTime app, tap Video in the menu at the top of the screen, and choose FaceTime HD Camera (Display).
Conclusion:
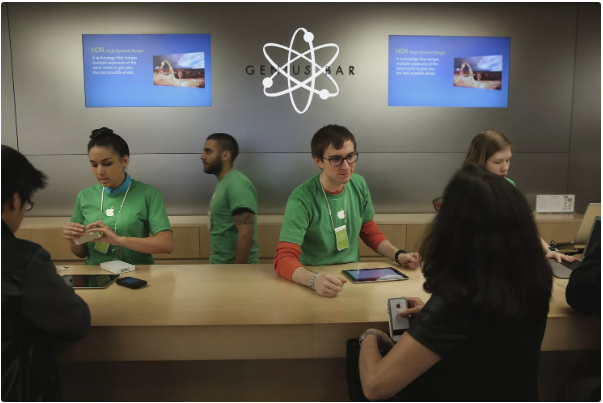
If none of the solutions given above can help to fix Macbook camera not working error then it is advisable to locate the Apple Store or an Apple Authorized Technician to operate your Mac. Apple Store offers free technical support at its Genius Bar store. We recommend that you make an appointment online at the Apple Support website, so you’ll have a much shorter waiting time to see a technician when you arrive at the store.
Also read: How to Fix iMessage Not Syncing on Mac

![[FIXED] MacOS Could Not Be Installed On Your Computer 2024](https://www.digitalcare.top/wp-content/uploads/2019/03/mac-211x150.jpeg "[FIXED] MacOS Could Not Be Installed On Your Computer 2024")
![How to Remove Startup Programs on Mac [Speed up your Mac] – 2024 Guide](https://www.digitalcare.top/wp-content/uploads/2018/09/mac-2-211x150.jpg "How to Remove Startup Programs on Mac [Speed up your Mac] – 2024 Guide")