iPhones are one of the most complicated phones to use. When you download a new update for your iPhone, a verifying updates screen appears. This happens when you update your iPhone directly from the settings. Basically what this screen does is that it contacts the iOS server for the updates and starts to process it. The screen usually appears for a few minutes before the update starts. In some unusual conditions, the screen persists for hours. If this happens, it does not mean that your iPhone is stuck or hanged. This can occur is the server is really busy or in some conditions if the server does not work.
If “verifying update” screen on your iPhone has been there for hours, there are some methods to get rid of this screen. You can use your iPhone normally. There are a few methods by which this screen can go away.
In this article, we will share different methods on How to Fix “iPhone stuck on verifying update” error.

Methods To Fix “Verifying Update” Stuck Screen
If your iPhone is stuck upon “verifying screen”, you are in the right place. Here is a list of methods that can help you with this issue. Just follow the steps of these methods correctly and you can hopefully get rid of the screen. So, let us dive in without wasting any more time.
1. Connect The iPhone To A Reliable WIFI- Connection:
A strong WIFI connection is very important for a software update of the iPhone. If your iPhone is connected to a weak WIFI network, the process of verifying the update from the server will take a lot of time and hence the verifying update window persists longer. Go to the settings and then tap of WIFI. Make sure that you are connected to a strong connection.
You can also use cellular data. This step is however very important because the larger updates require a WIFI connection for the iPhone to be updated. So, make sure you are connected to a strong network prior to updating.
2. Restart Your iPhone:
You can restart your iPhone if the screen is there for more than a few minutes. To restart the iPhone prior to iPhone X follow these steps:
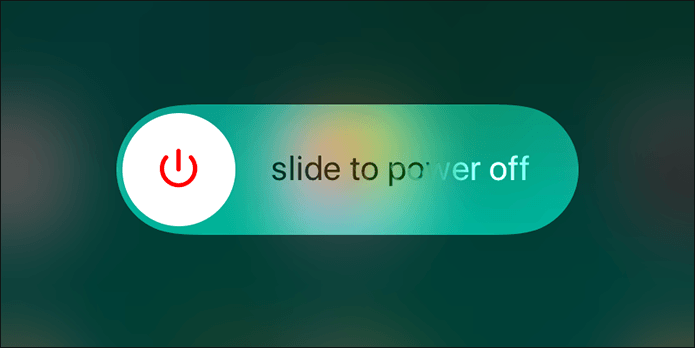
- Press the power button for a few seconds. A slider will appear.
- Slide to power off.
- After a few minutes press the power button again for a few seconds to power on.
To restart your iPhone X, you need to follow these steps:
- Press and release the volume up and volume down keys in succession.
- Press the power button for a few seconds.
- Slide the slider to power off the iPhone.
- After a few minutes, turn on the iPhone again by pressing power button for few seconds.
3. Hard Reset Your iPhone:
If the power button is not working and you are not able to restart your iPhone, you can follow this method. One of the most common solutions to most of the iPhone related problems is to hard reset it and we are exactly going to follow it. Different iPhones have different methods to hard reset it. The methods to hard reset the different iPhone models are:
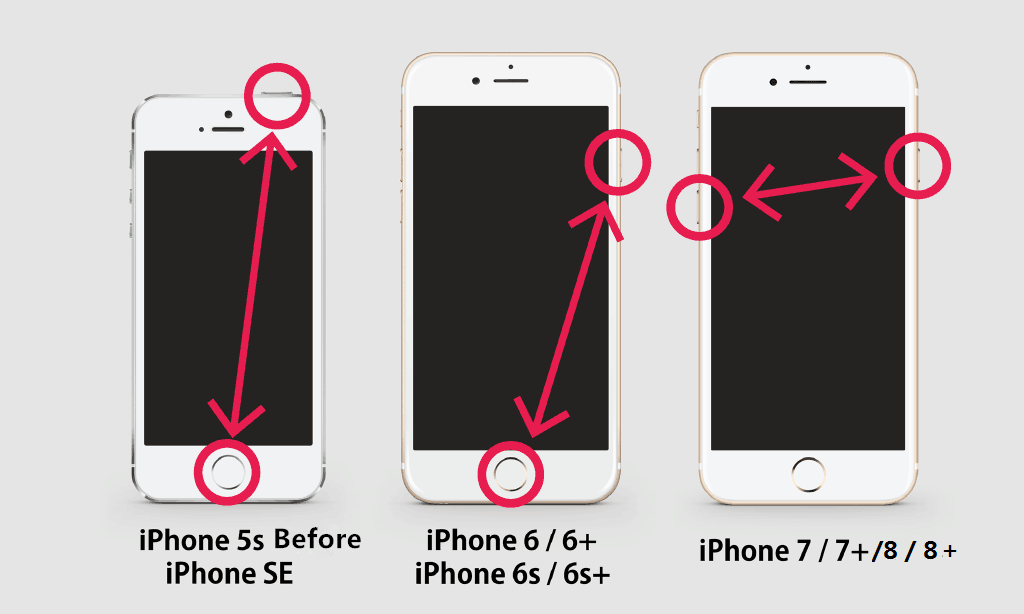
iPhone 6 and prior:
To hard reset the iPhone 6 and prior models, you need to press the power button and the home button simultaneously. A screen with an apple logo will appear. This will hard reset your iPhone.
iPhone 7:
To hard reset iPhone 7, you will need to follow a different procedure than the prior models. To hard reset, hold down the volume keys and power button simultaneously. This will hard reset your iPhone.
iPhone 8 and iPhone X:
To hard reset the iPhone 8 and iPhone x, you need to press the volume up and volume down keys quickly and successively. Then press the power button till the apple logo appears. The iPhone is hard reset.
 Aftera hard reset, go to the settings and download the new update again. If the verification of the software happens successfully, you are done. If not, follow the other methods.
4. The Power Button:
When the verifying update screen appears, the home button does not take you back to the home screen. However, the power button works. If the screen appears on the iPhone for more than a few minutes, press the power button. Then press it on again. Wait for a few minutes, if the screen disappears, you are done. If not repeat the process for 5-10 times. Even after repeating the process, if the update download does not start, follow the other methods given.
5. Delete Update And Re-Update:
Sometimes when the verifying update screen keeps appearing, it is because there is a problem with a last update. You need to delete this update and then re-update your iPhone. To delete and re-update your iPhone, follow these steps:
- Go on to the general settings and click on iPhone storage.
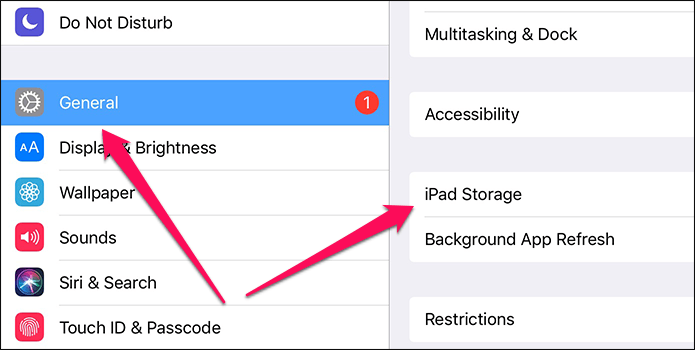
- The list of applications takes a few minutes to get updated. Once it gets uploaded, click on iOS.
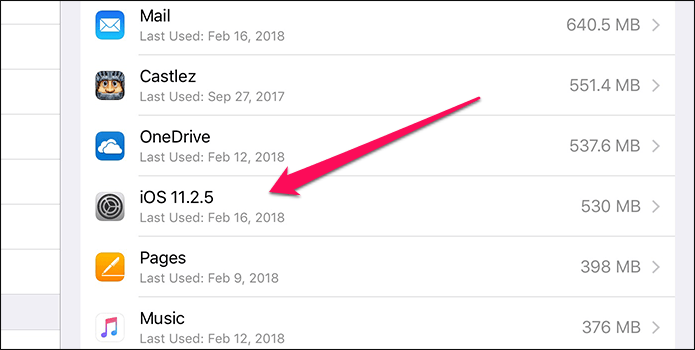
- Next tap on the delete button to delete the update.
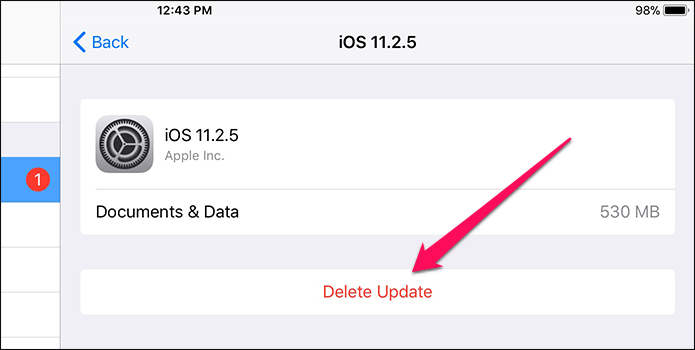
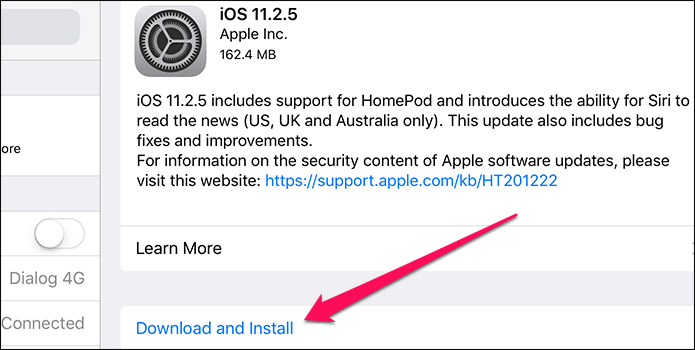
- Now, go to the software update screen and download the update again. The verifying update screen should not persist.
If you do not get through the verifying update screen after this method, you need to follow the last method.
6. iTunes Update:
You should follow this method when no other methods work for you. To get away with the “verifying update” screen follow these steps:
- Connect your iPhone to the iTunes on you mac or PC.
- Click on the “summary” once your iPhone is connected.
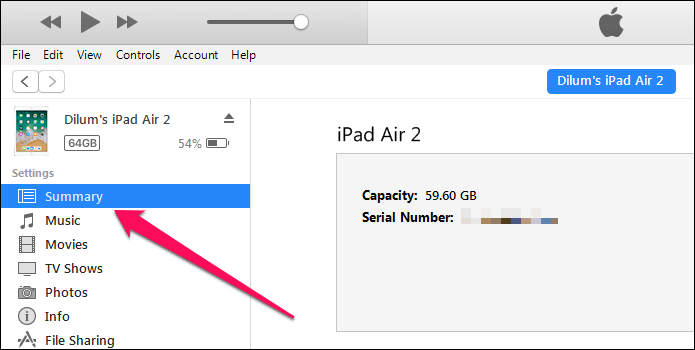
- Next, click on update. When you are prompted to enter the pin, enter it.
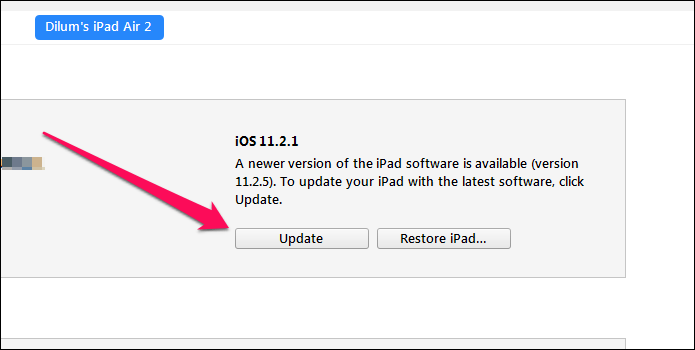
- You are done. iTunes will now download the update from here on.
Also Read: How to Fix Spinning Wheel Stuck Problem on iPhone
You Are Done!
Congratulations! You have successfully overcome this issue of “verifying update” screen. If you have followed the given methods, you will now have a new update on your iPhone. Enjoy the new iPhone update!

")
![Make Genius Bar Appointment [Quick Method] – 2024 Guide](https://www.digitalcare.top/wp-content/uploads/2019/02/Screen-Shot-2018-06-25-at-6.39.08-PM-768x459-211x150.jpg "Make Genius Bar Appointment [Quick Method] – 2024 Guide")