Are you too receiving notification which says that the Mail app ‘Cannot verify the identity of the mail server’ or simply ‘Cannot Verify Server Identity’ when you try to send a mail using your iPhone? Well, if so, then worry not, for we have got you covered.
In this article we are going to understand why your iPhone “cannot verify server identity”and show you how to fix this problem for good!
How to fix Cannot Verify Server Identity
Below are a few tried and tested methods using which you can easily fix Cannot Verify Server Identity issue on iPhone. All you need to do is to try them one by one, step by step and find out which one works for you.
Method 1. Restart your phone
It may sound very silly but restarting your phone might be all you needed to fix the server identity verification issue. The reason for which it might work for you is because the error is many times caused by a software glitch and restarting your phone can easily fix it.
- Press and hold the power button until
- You will see a slide to power off on the top of your phone’s display.
- Swipe the red power icon from left to right to turn off your iPhone.
- Wait for around a minute
- Now, press and hold the power button again to turn it back on.
Method 2. Close and Reopening The Mail App
This might also seem fairly easy and something which can be expected to be one of the very first methods you might try before even searching for the solutions online. But just in case you didn’t try it once, and if you already did, there’s no harm in trying again. Anyways how much time does it take, right.
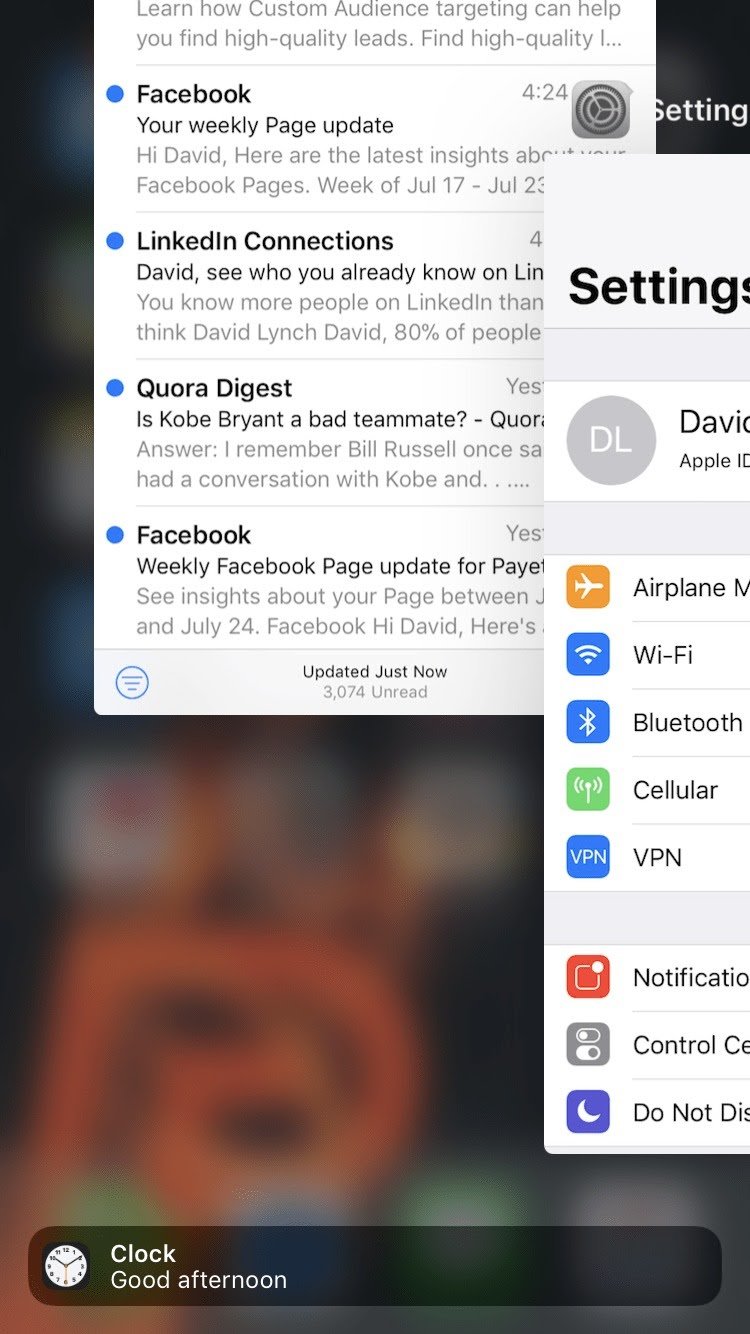
- Double-click the Home button. This will open up the App Switcher.
- Use a finger to swipe up on the Mail app so that it no longer appears in the App Switcher.
Now you can reopen the Mail Application by simply clicking on it.
Method 3. Add your Email Account Again
If you are getting the error continuously then there might be a possibility that there is something wrong with your Account. In that case, Deleting and reentering the email account information will reset the email’s server identity certificates.
This might eventually allow your email account to be verified by the Mail app. Also, there is absolutely zero risk as deleting the email account on your iPhone will not delete your actual email account.
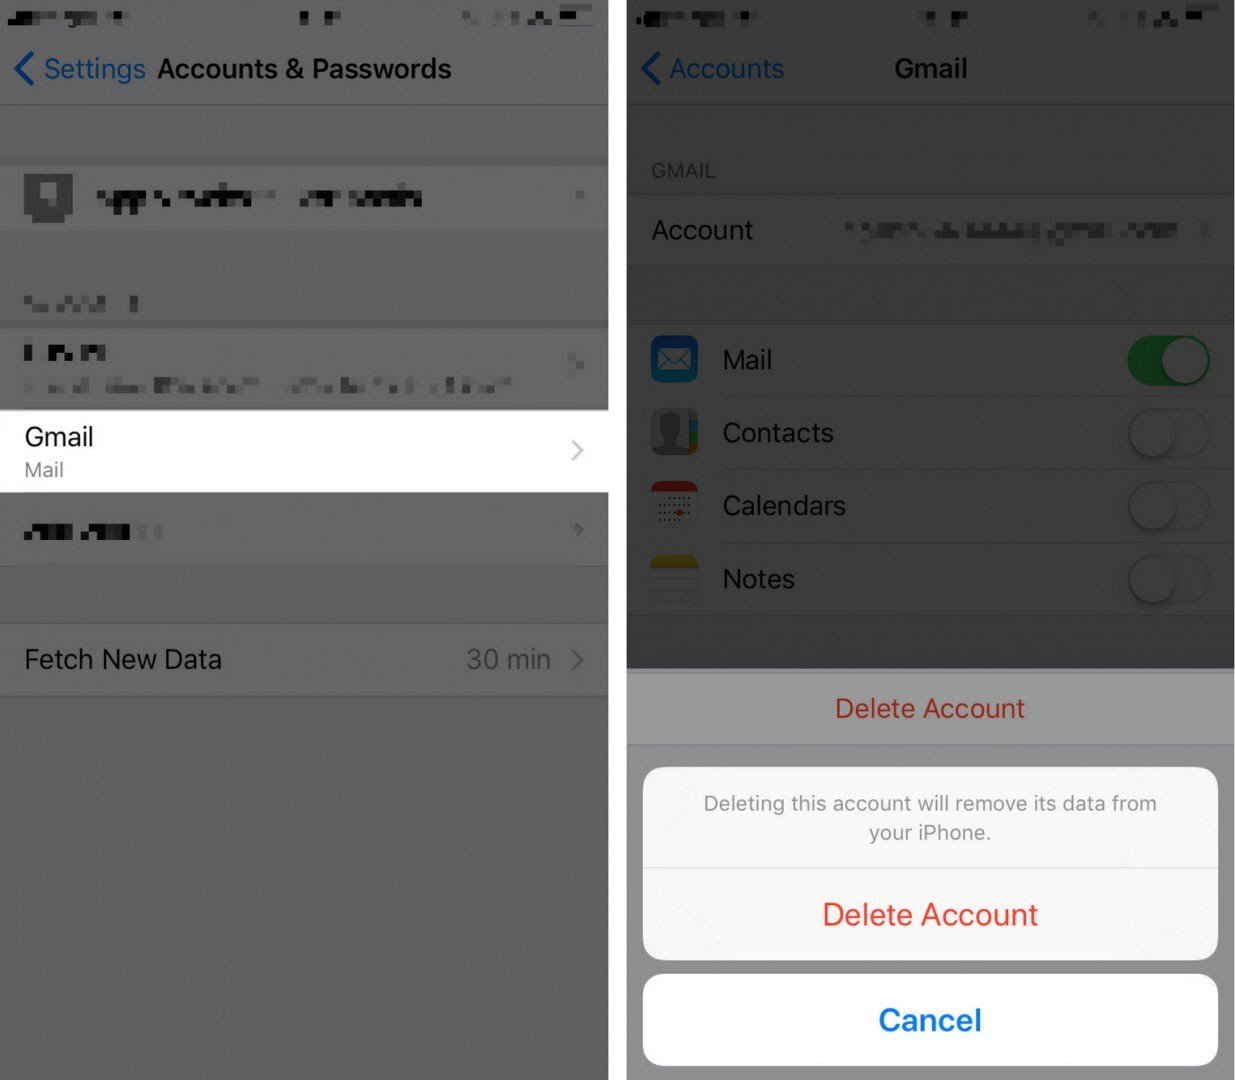
- Open the Settings app
- Tap on Accounts & Passwords.
- Under Accounts look for the email account you want to delete and tap it.
- Tap the red Delete Account button at the bottom of the screen.
- Tap on Delete Account to confirm.
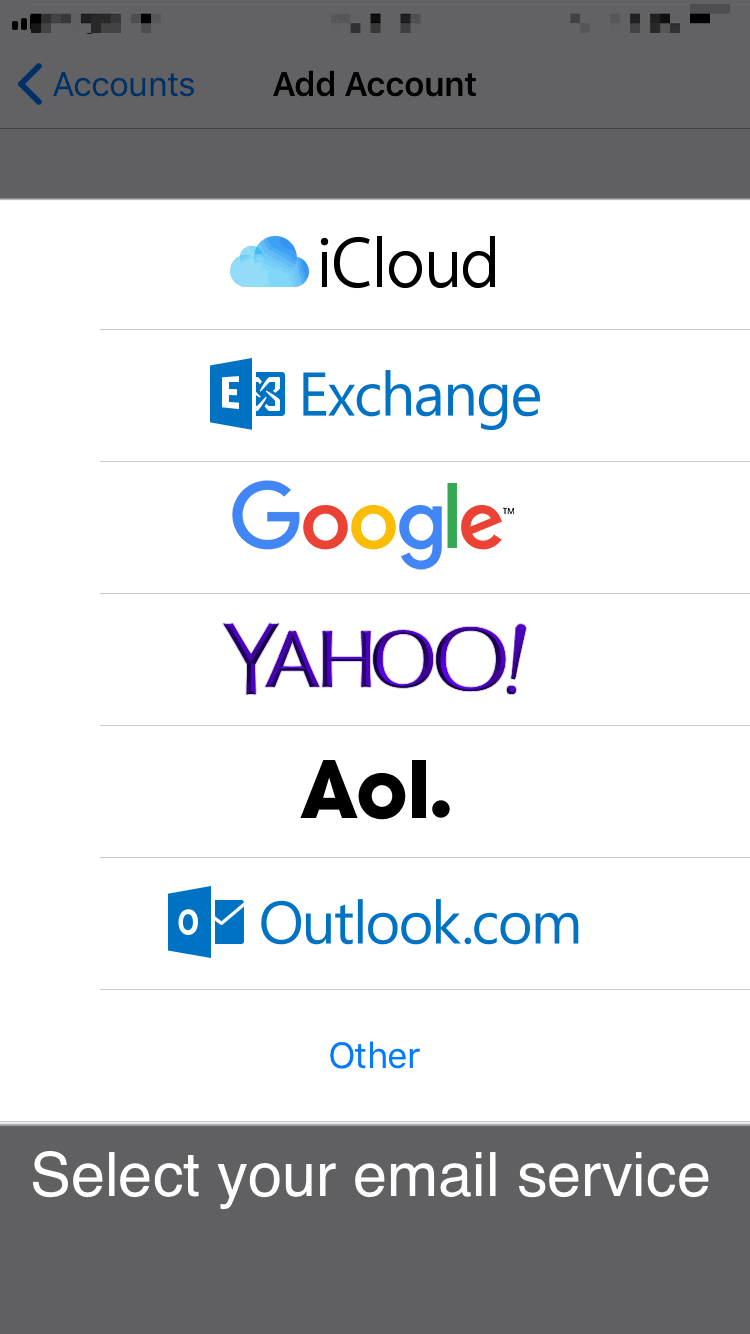
Now to add your email account back…
- Go to the Settings app
- Tap on Accounts & Passwords
- Select Add Account.
- Select your mail service
- Enter the necessary information.
And Viola! You are done!
Method 4. Reset All Settings
Now, you must be warned that if you decide to reset all settings, all of the data from the Settings app on your iPhone will be erased. This means that all of your Setting changes will be reverted to the factory ones. But on the other hand, software issues can be difficult to track sometimes, and resetting all settings will make sure that the problem is solved, once and for all.
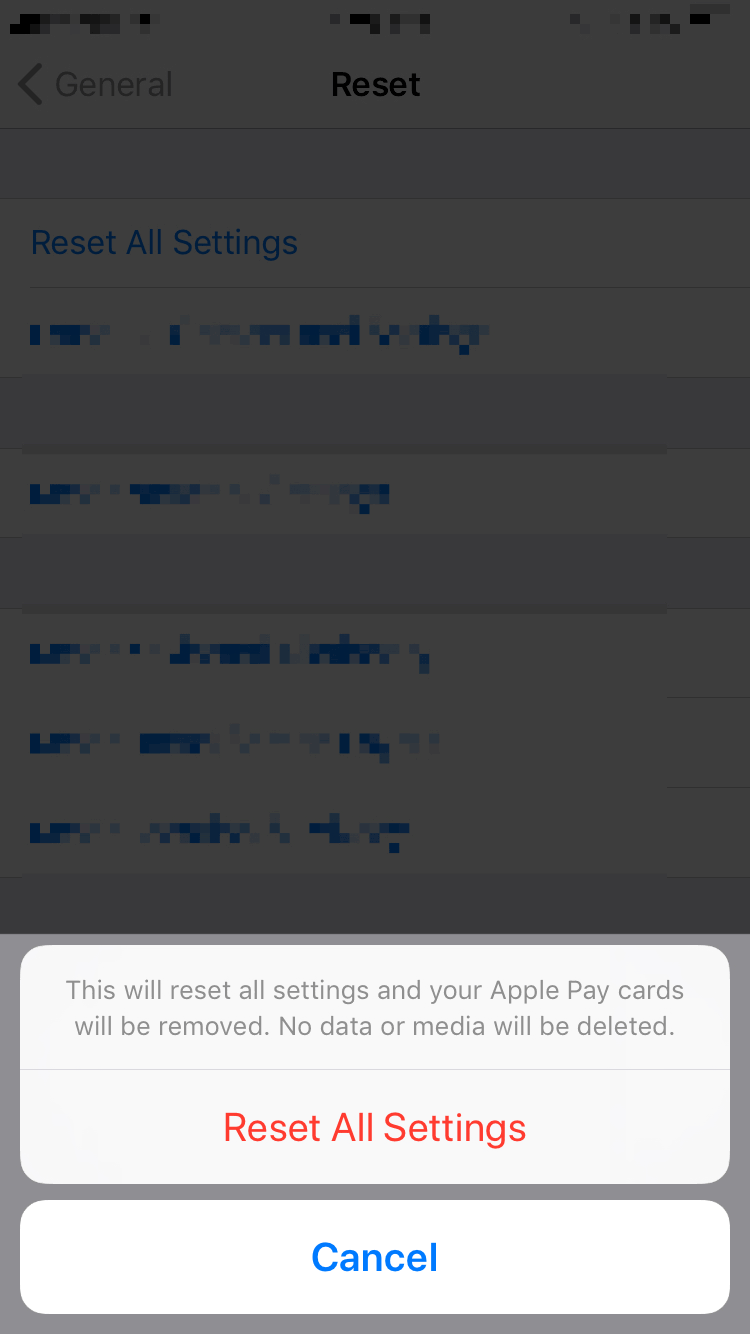
- Navigate to the Settings appthen
- Select General
- Now choose Reset
- Click on Reset All Settings.
- If you have a passcode or a Restrictions passcode, you’ll be prompted to enter them.
- After entering the passcode, tap Reset All Settings.
Final Take!
I hope that you were able to fix the ‘Cannot Verify Server Identity’ on iOS 11, iOS 12 and other iOS versions. In case if you face any difficulty, please feel free to comment and let us know. We will get back to you as soon as possible. I hope you found the article informative and enjoyed reading it. This is all for the day. Thanks for reading!

![Download Wine for Mac [Full Guide to Use it] – 2024 Guide](https://www.digitalcare.top/wp-content/uploads/2019/05/mac-211x150.jpg "Download Wine for Mac [Full Guide to Use it] – 2024 Guide")
![Clear iPhone Screen Time Data Easily [2024 Guide]](https://www.digitalcare.top/wp-content/uploads/2024/03/iPhone-Screen-Time-Data-211x150.jpg "Clear iPhone Screen Time Data Easily [2024 Guide]")